
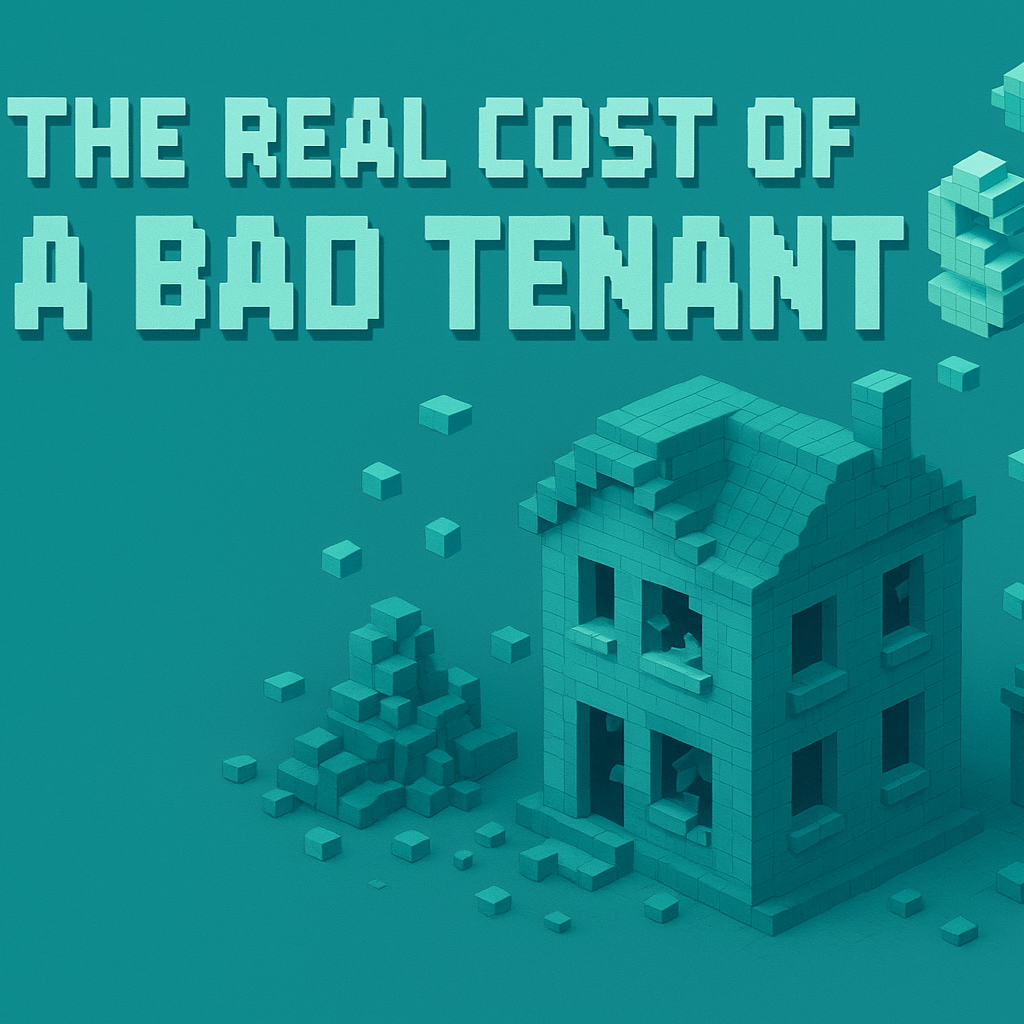
You usually notice the real cost of a bad tenant right after it is too late. Rent is already behind, neighbors are complaining, and you are staring at a repair quote you did not budget for. The hit is not just financial. It is stress, lost weekends, and a year of projected cash flow wiped out by one bad decision.
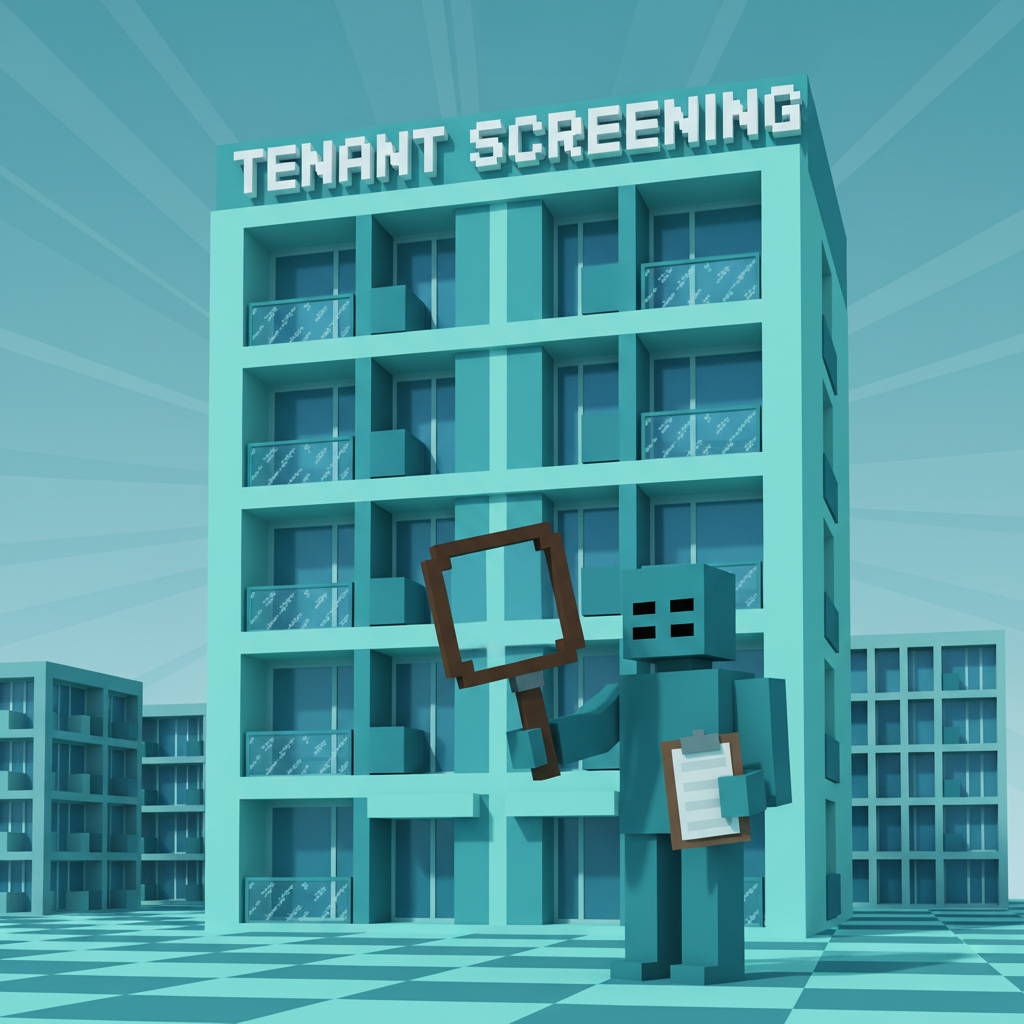
In this guide, you will walk through a complete tenant screening workflow from first contact to final approval so you can avoid bad tenants every time. You will also see how each screening step directly protects you from the real cost of a bad tenant, from missed rent to legal trouble and long vacancies.
When you first buy a rental, it is easy to think in simple math. Mortgage is X, rent is Y, so your monthly profit is Y minus X.
A bad tenant breaks that math.
The real cost of a bad tenant often includes:
Rentastic’s 2025 guidance highlights that an ineffective screening process exposes you to real financial risk, especially if you rely on rent to cover mortgage and maintenance. Even one or two months of missed rent can erase a full year of profit on a single‑family home. If you carry multiple mortgages, that risk multiplies fast.
Rentastic’s 2025 analysis also notes that the hidden cost of a bad tenant goes well beyond missed rent to include property damage, repair bills, eviction expenses, increased vacancies, legal trouble, and a domino effect on long‑term returns. In difficult markets, high turnover caused by bad tenants can drive vacancy rates as high as 30 %, which cuts straight into your bottom line.
If you want a deeper dive into the real cost of a bad tenant, it is worth understanding just how many line items are quietly at stake each time you approve a lease.
Before you design a stronger screening workflow, it helps to see every way a bad tenant can hurt you. Think beyond a single missed payment.
Failing to thoroughly screen tenants significantly increases the risk of late or non‑payment of rent. For you, that is not just an annoyance. It can mean:
Rentastic’s 2024 user survey shows that landlords who closely track income and expenses and react quickly to late payments cut their borrowing costs from 8 % to 4.1 % and unlocked up to $60,000 in equity across properties. Strong screening plus fast monitoring makes it much easier to catch problems early instead of chasing arrears for months.
Ineffective screening also raises the chance you rent to someone with a history of property damage or neglect. Rentastic’s 2025 guidance notes that damage from bad tenants can include:
Turnover maintenance can easily run between $1,000 and $3,000 per move‑out, and that figure goes higher if emergency repairs are needed. Units with heavy damage may sit offline for weeks, which means lost rent on top of repair costs. You might also face fines for code violations if the damage creates safety issues.
If things go really wrong, you are looking at an eviction. Rentastic points out that eviction processes are slower and more expensive than most landlords expect. The full cost includes:
Even in landlord friendly jurisdictions, you rarely recover everything you spend. You also lose time and mental bandwidth you could have invested in growing your portfolio.
Bad tenants increase turnover and vacancy. You are more likely to:
High tenant turnover often leads to higher vacancy rates and repeated make ready costs. Over a few years, this erosion can be larger than a single dramatic event. This is another key piece of the real cost of a bad tenant that is easy to miss when you are focused on getting someone in quickly.
Skipping or mishandling screening does not just cost you money. It can also expose you to fines, penalties, and lawsuits. Rentastic notes that legal and compliance failures in tenant screening can lead to:
Trying to avoid a month of vacancy is never worth the risk of a discrimination claim or a lawsuit over inconsistent criteria. Following the rules and documenting your process is part of protecting your investment.
You cannot remove risk entirely, but you can stack the odds heavily in your favor. A detailed, repeatable tenant screening workflow is one of the best forms of insurance you can create for yourself.
Rentastic’s 2025 guide emphasizes that conducting a thorough tenant screening workflow from application to approval helps you:
Think of your workflow as a checklist driven funnel that filters out high risk applicants at each step. Instead of trusting your gut, you trust the process.
The rest of this guide walks you through that process in order, so you can adapt it to your market and portfolio size.
Your best protection starts before you even list the unit. First time landlords in 2026 are strongly advised to set clear, objective screening criteria and apply them consistently.
Write down the non negotiable standards for your rentals. At a minimum, you should decide on:
Keep everything objective and property related. Never include protected characteristics like race, color, religion, national origin, sex, familial status, disability, or any other trait covered under your local fair housing laws.
Clear written criteria help you:
It also signals professionalism to applicants. Serious renters are usually more comfortable when they see you have a structured process.
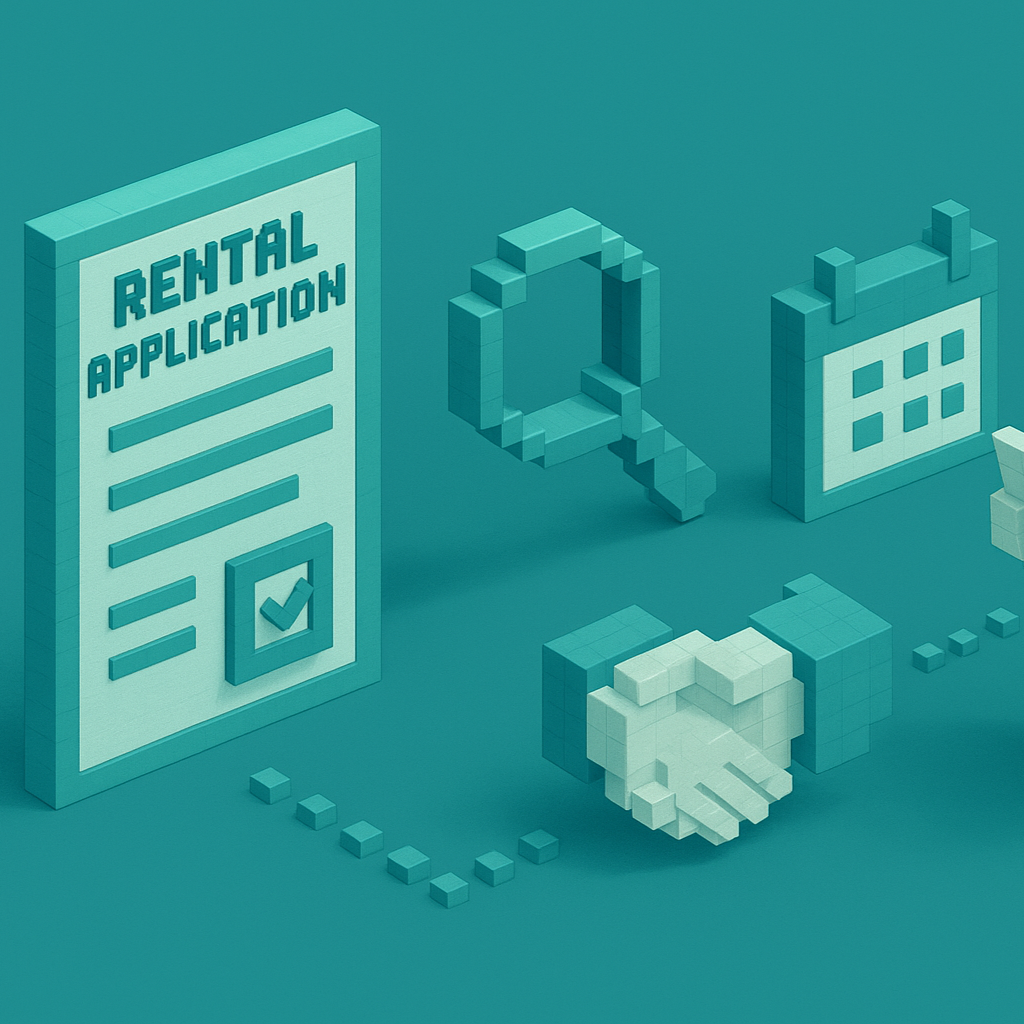
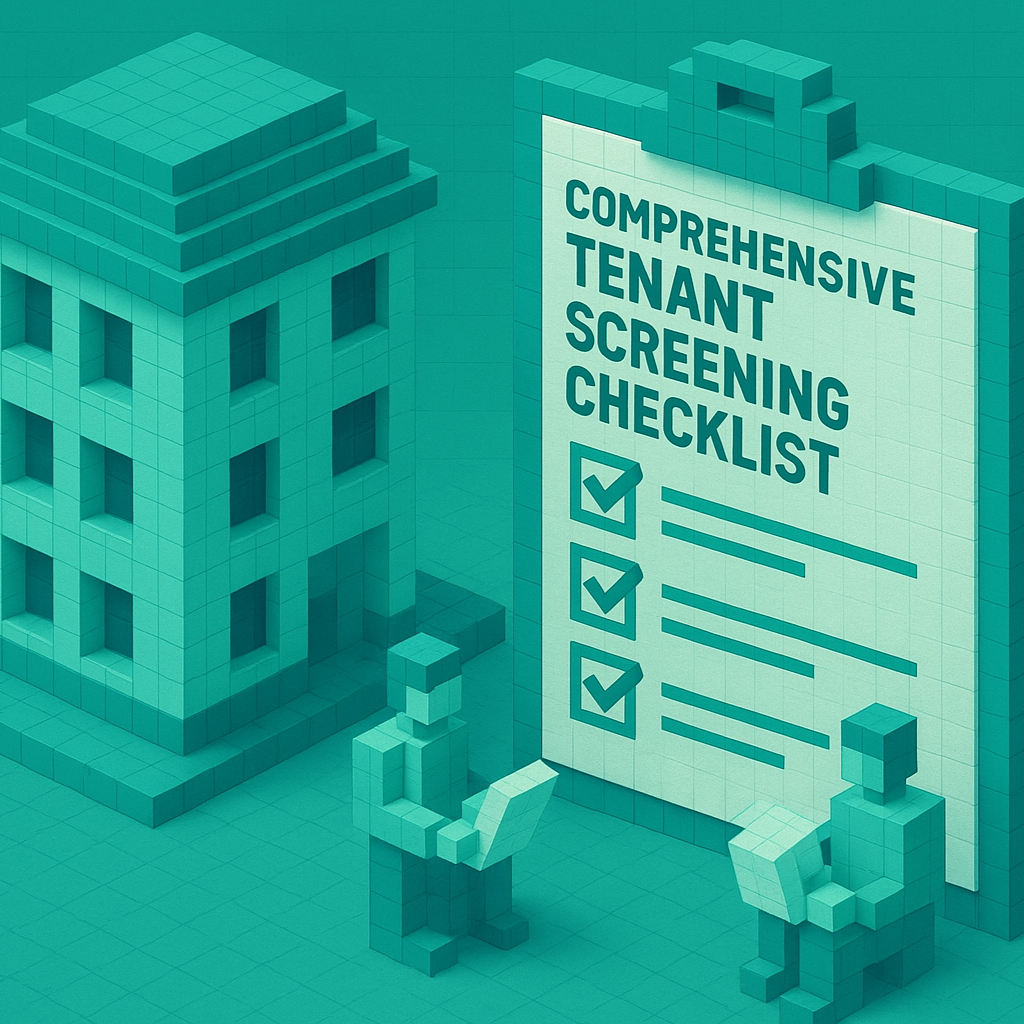
Every good screening workflow starts with a detailed rental application. Skipping this step or using a minimal form is a fast way to invite headaches.
Your application should gather complete information in four areas:
In practice, that means asking for:
Rentastic’s 2025 guidance warns that skipping thorough data collection at this stage can cost you thousands later in property damage or eviction costs. The more complete the application, the more reliable your checks.
You do not need to wait for reports to see issues. Watch for:
None of these are automatic deal breakers, but they are signals to dig deeper.
A tenant’s ability to pay is the foundation of your entire investment. Verifying job stability and reliable income is one of the most protective steps you can take.
Do not stop at a pay stub photo. Make verification a routine, not a special case.
You can:
Once you have documents, make sure the math lines up with your written criteria. A popular guideline is 2.5 to 3 times the monthly rent in verifiable income, but your market and risk tolerance may push that up or down.
Rentastic emphasizes that contacting employers directly is vital for assessing an applicant’s ability to pay consistently. With consent in hand, you or your property manager should:
Relying solely on paper opens the door to forged documents and fictional companies. A quick employer call can prevent months of financial stress.
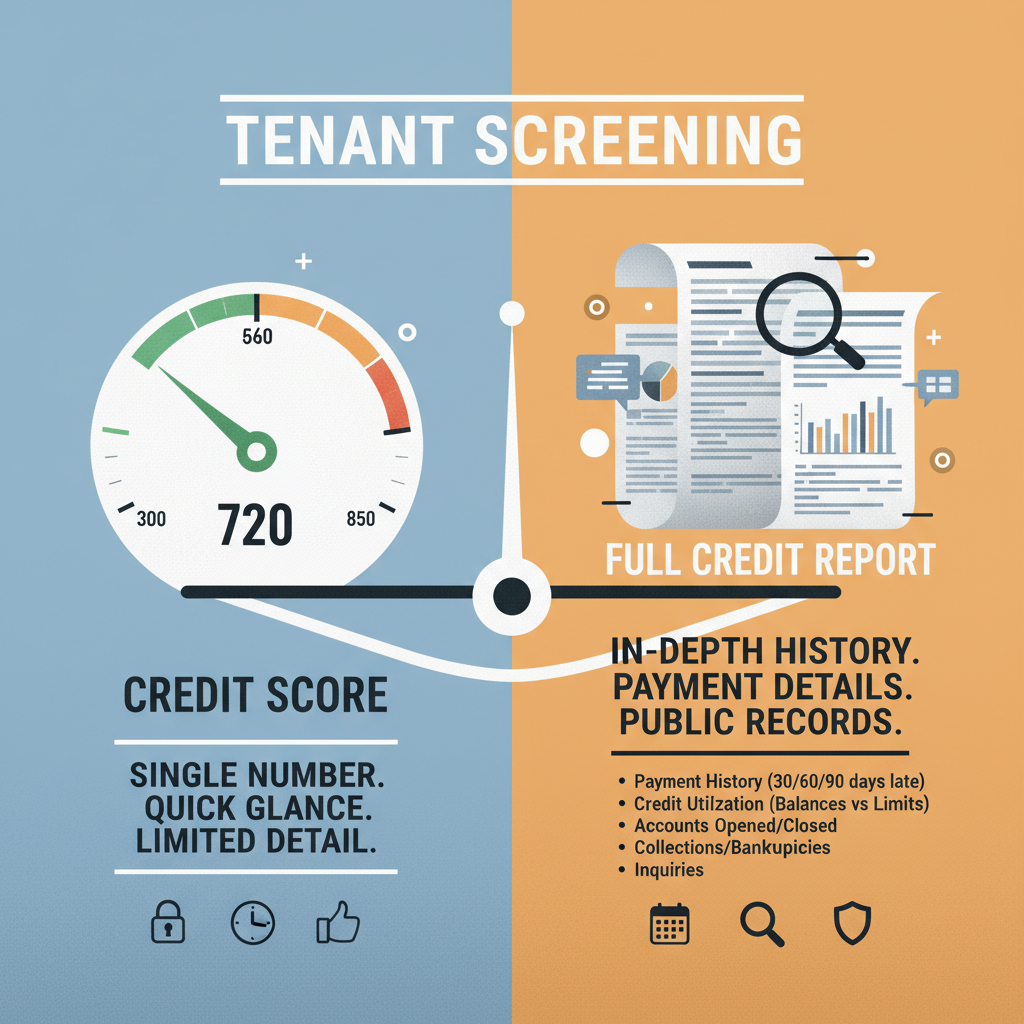
A credit report gives you a 10,000 foot view of how someone handles their financial obligations. It is not perfect, but it is a powerful filter when used with context.
When you receive a credit report, focus on:
A single medical collection might not concern you, but multiple utility collections might, because that suggests trouble paying recurring bills that are similar to rent.
Credit is often overrated or misunderstood. Use it to:
Then weigh it against other data. A long term tenant with slightly average credit but stellar rental history might be a better bet than someone with a brand new clean report and no rental track record.
If you only upgrade one part of your current process, make it this. Rental history verification through prior landlord references remains one of the strongest predictors of tenant reliability.
With the applicant’s consent, reach out to previous landlords using independently verified contact info. Ask simple, specific questions such as:
You do not need a long conversation. You just need honest, factual answers.
Pay attention to tone and hesitation. A landlord who feels pressured might stick to the bare minimum. You can still learn a lot from short answers like:
Remember that a credit report will not tell you about noise at 2 am, secret pets, or constant parking violations. Landlords will.
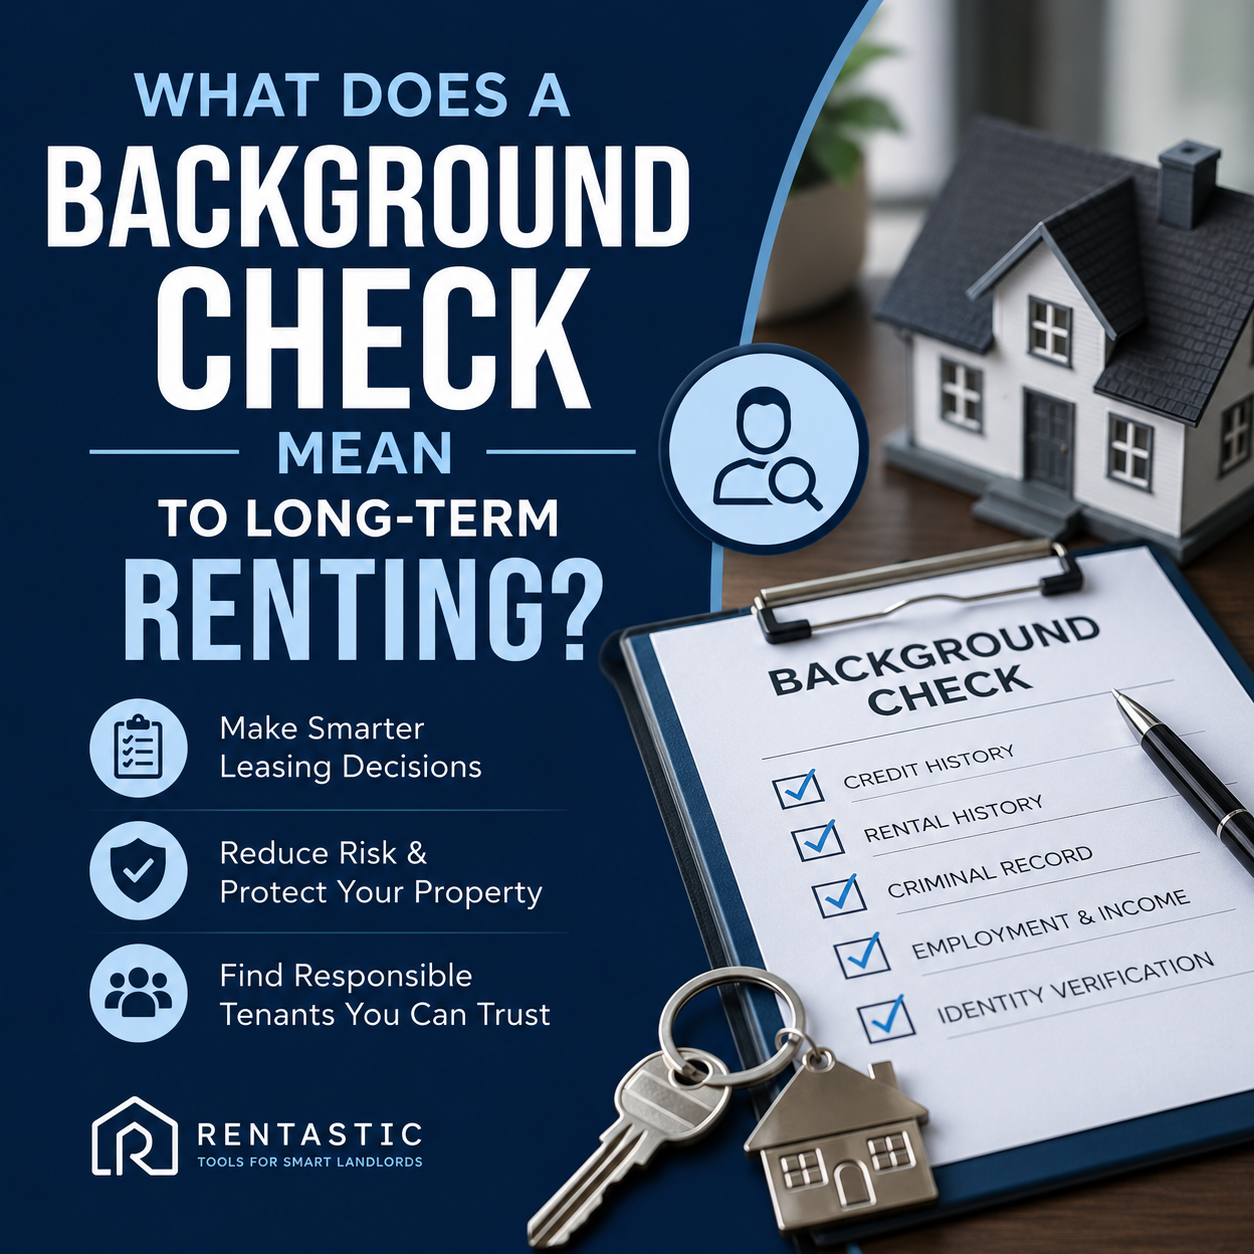
Background screening helps you avoid safety risks and repeat eviction cases. It is also an area where you must be careful to comply with fair housing and local rules.
A standard package often covers:
Screening services combine this data into readable reports so you can quickly compare results against your written criteria.
Following fair housing laws and avoiding discriminatory practices is crucial. The legal penalties and lawsuits for non compliance can be far more expensive than a month of vacancy.
To protect yourself:
Some landlords choose to work with licensed property managers who stay current on local law and help reduce compliance risk. That is often cheaper than learning by mistake.
AI powered tenant screening tools in 2026 are increasingly able to help you identify risky profiles and predict the likelihood of late payments or early lease terminations. Used correctly, they can complement your judgment, not replace it.
Modern tools can:
These systems are particularly useful if you manage many units or receive a high volume of applications.
You still need to:
Investing in detailed and AI powered screening tools, including credit checks, rental history verification, background checks, and predictive analytics, is usually justified by the savings from avoiding just one or two very costly tenant issues.
Your tenant screening is only as strong as your ability to show what you did and why. Documentation protects you in two ways: against bad tenants and against legal or regulatory challenges.
First time landlords are especially encouraged to keep a clear record for each applicant that includes:
Store these files securely and in line with privacy laws in your area.
If a denied applicant accuses you of discrimination or unfair treatment, your consistent, documented process becomes your best defense. It also lets you refine your criteria over time based on what actually worked.
Rentastic specifically recommends documenting every step of your tenant screening workflow. That habit can save you thousands of dollars and countless hours if a decision is ever questioned.
At this point in the workflow, you have a full picture of each applicant. The final step is making a decision that respects both your criteria and what you have learned from the data.
Instead of fixating on a single late payment or one reference, look for patterns:
The more these patterns stack up, the more confident you can be that approving this tenant would expose you to the real cost of a bad tenant you have worked so hard to avoid.
One of the toughest skills as a landlord is being willing to accept a month of vacancy rather than approve a risky tenant out of pressure. When your screening reveals serious red flags, walking away often saves you more money than filling the unit right now.
Remember, a single bad tenant can wipe out a full year of cash flow when you factor in missed rent, damage, repairs, legal fees, and vacancies. Passing on a problematic applicant is not lost income, it is risk avoided.
If you need a reminder, revisit your numbers on the real cost of a bad tenant and compare them to a single month without rent.
You now have the building blocks for a screening system that protects your time, cash flow, and sanity.
Here is a simple way to structure it:
If you build this into a checklist and follow it every time, you will dramatically reduce the odds that you end up funding the real cost of a bad tenant out of your own pocket.
Start with your next vacancy. Pick one step you have been skipping, add it to your process, and protect your investment one solid screening decision at a time.
RECENT POSTS


© 2025 Rentastic
Rentastic is registered as a trademark. Terms and conditions, features, support, pricing, and service options subject to change without notice.


.png)


Comments