
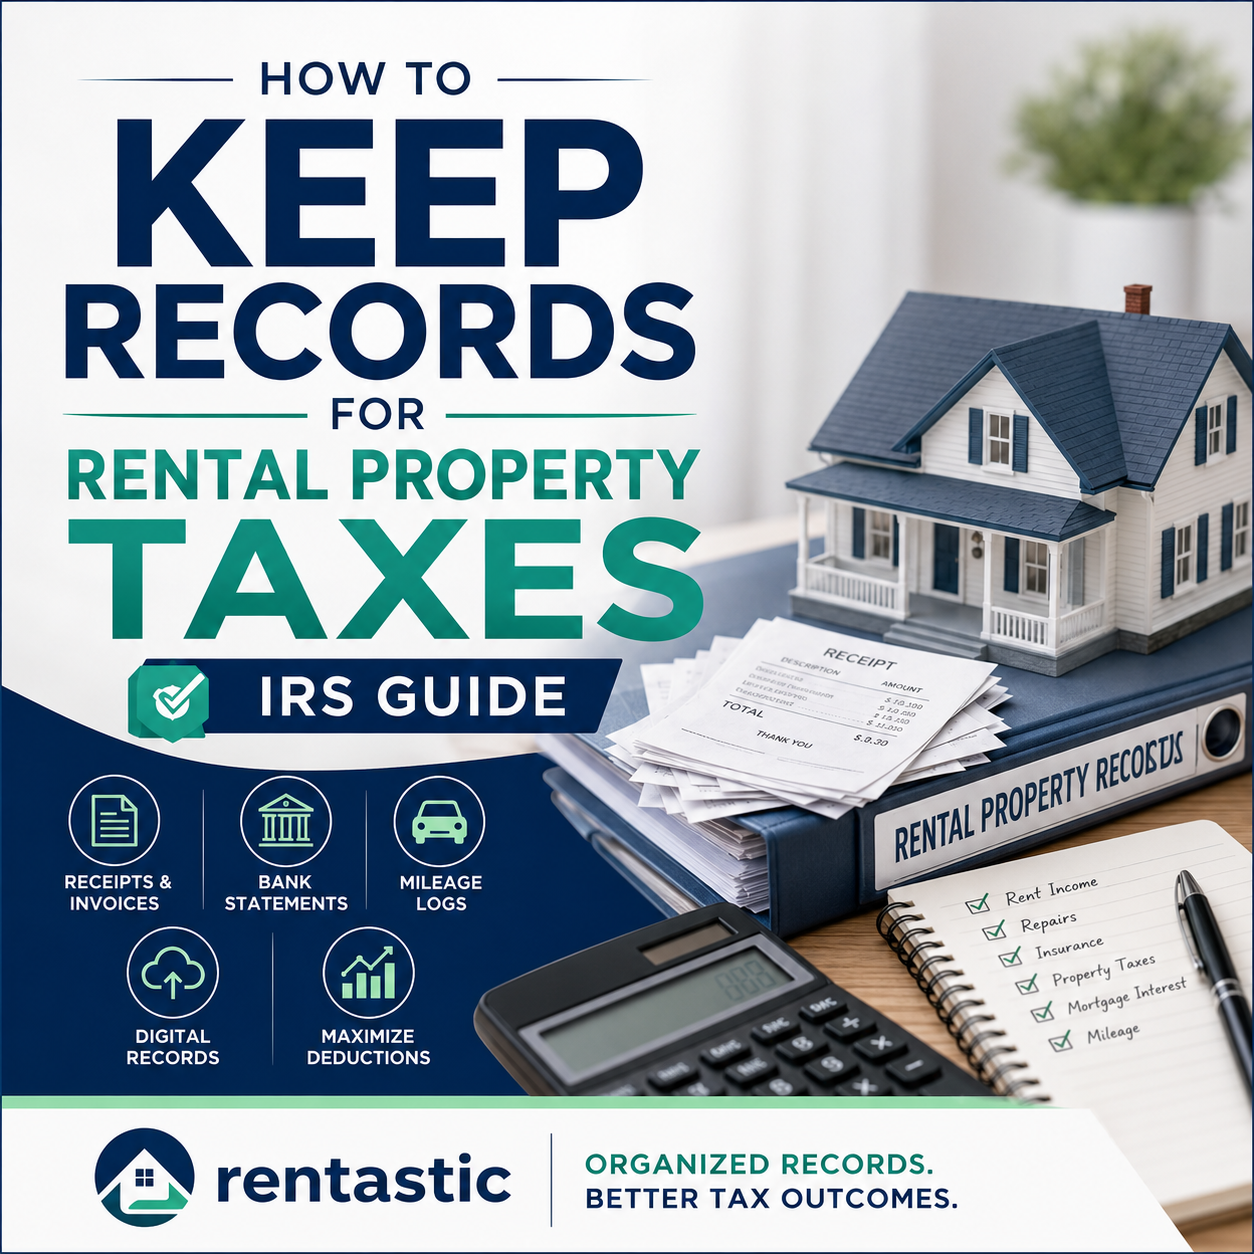
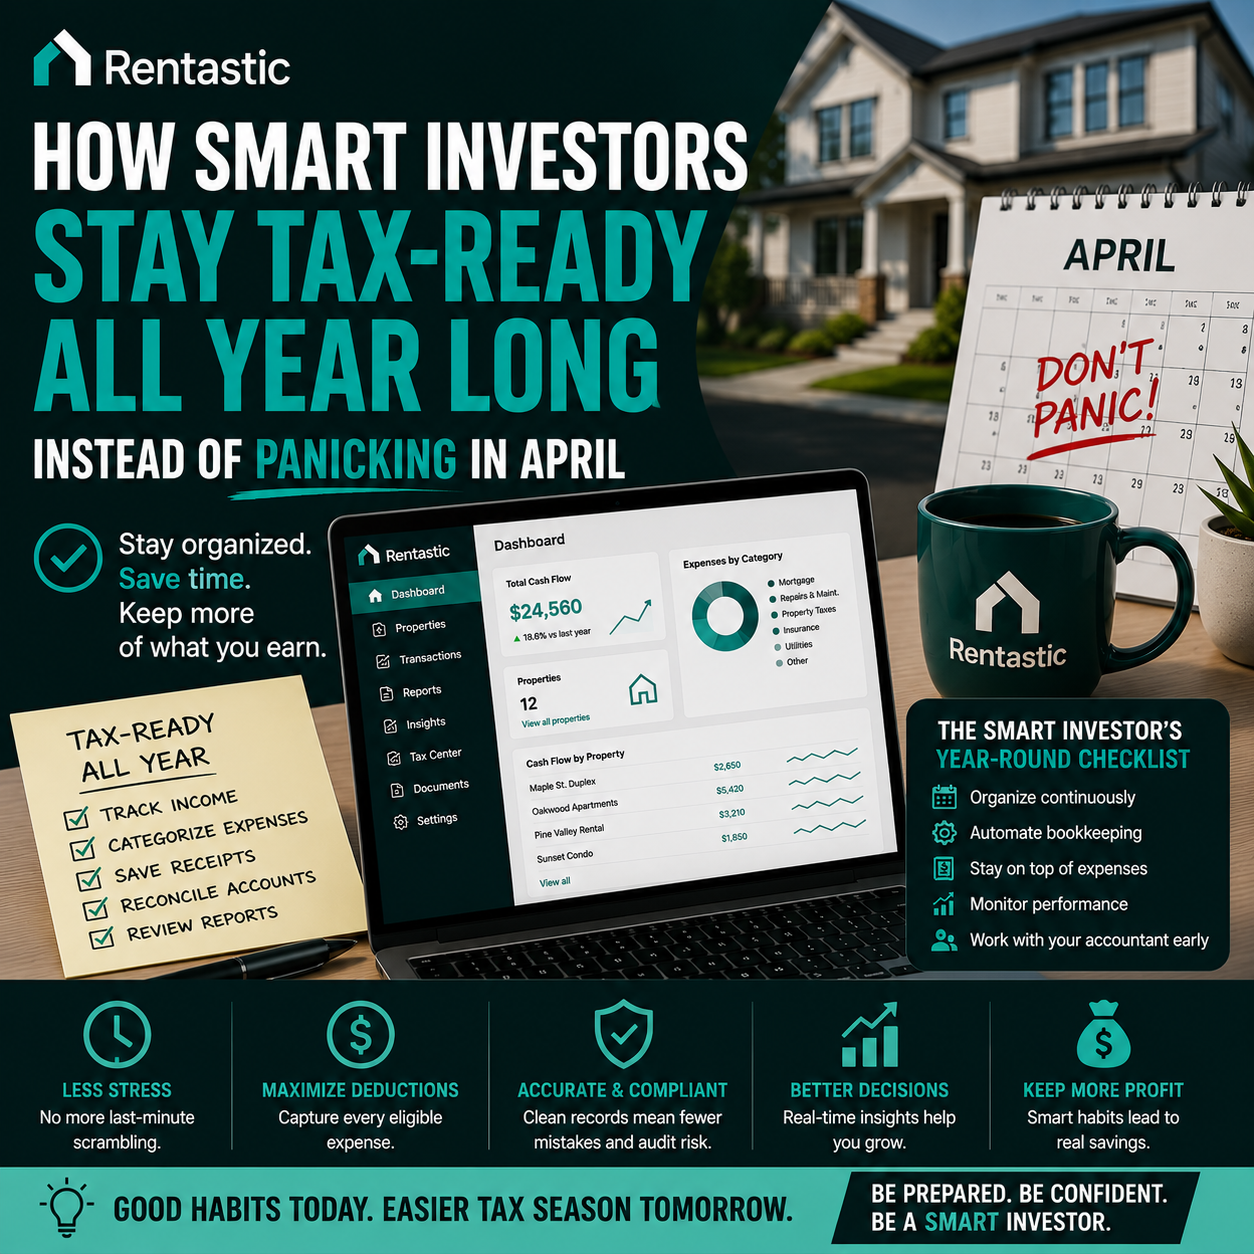
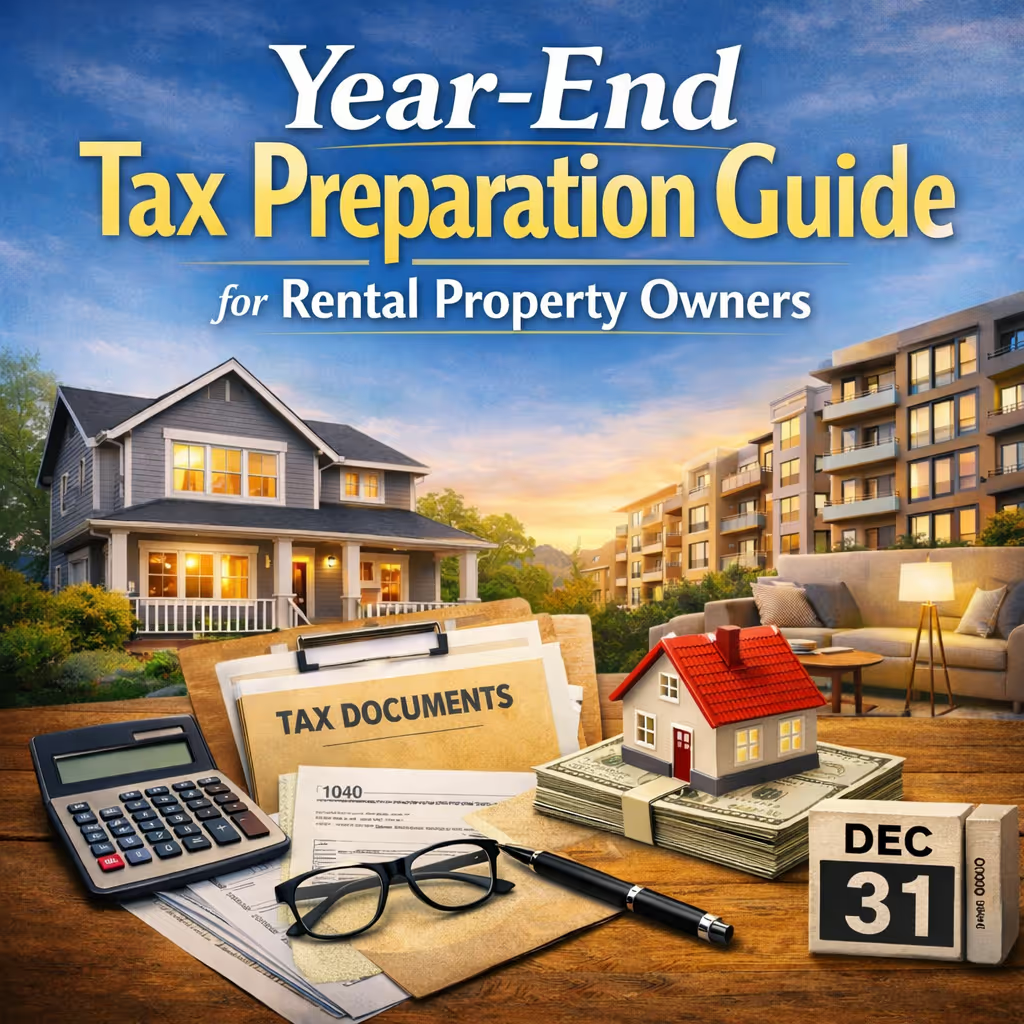
Tax season sneaks up fast when you own rental property. Between Schedule E, receipts, and depreciation schedules, it is easy to miss deductions or scramble at the last minute. A simple, repeatable rental property taxes checklist keeps you calm and helps you keep more of your cash every tax season.
Use this guide as your step‑by‑step prep list so that when you or your tax pro sit down to file, everything is ready to go.
Before you gather documents, you need a clear picture of how the IRS sees your rentals. That context shapes the rest of your checklist.
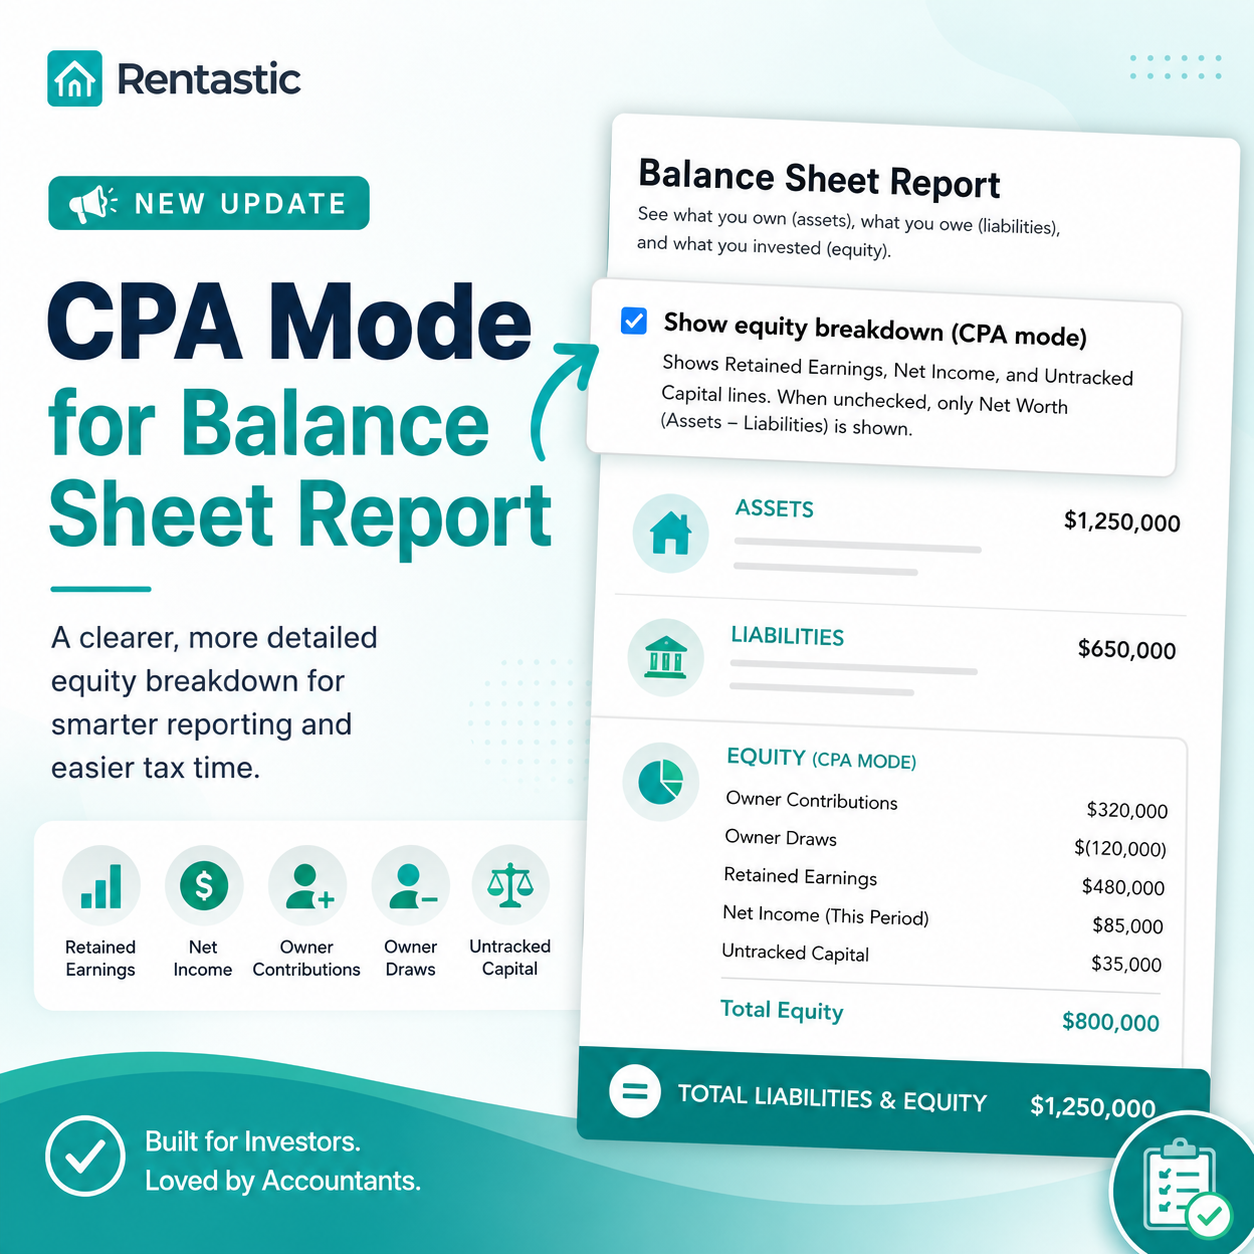
Most individual landlords report rental income and expenses on Schedule E (Form 1040). Schedule E is where you list each property, report all income, and claim allowable expenses, as described in IRS Publication 527 for 2025. Your rentals are usually treated as passive activities, which affects how much loss you can use each year.
In practice, that means:
If you actively participate in managing your rentals and your adjusted gross income is under $100,000, you may be able to deduct up to $25,000 of rental losses against other income. Any extra losses are not wasted, they carry forward to future years until you can use them.
Once you understand this basic framework, the rest of your tax season prep is about documenting every dollar that flows in and out.
Start by listing each property you own and plan to report on Schedule E. Then pull every source of income tied to those units for the year, not just the base rent.
You should collect:
Organize income by property and unit, then by month. If you use a property management company, request their annual owner statement for each property. This usually summarizes total rent collected and fees paid, which you will still need to verify.
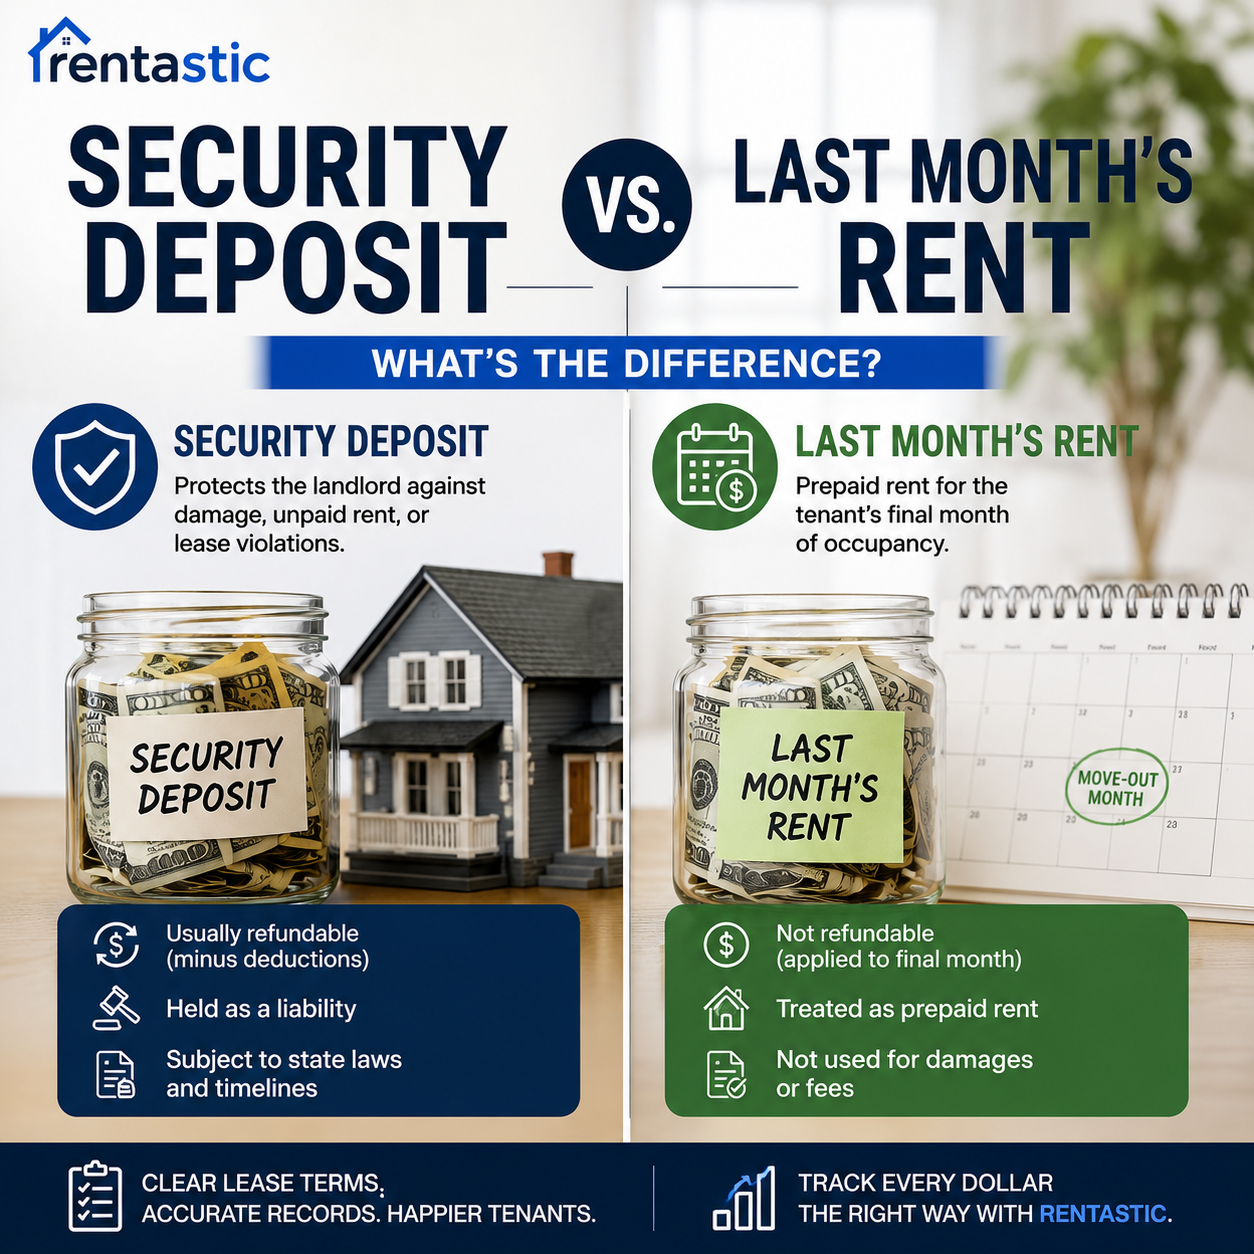
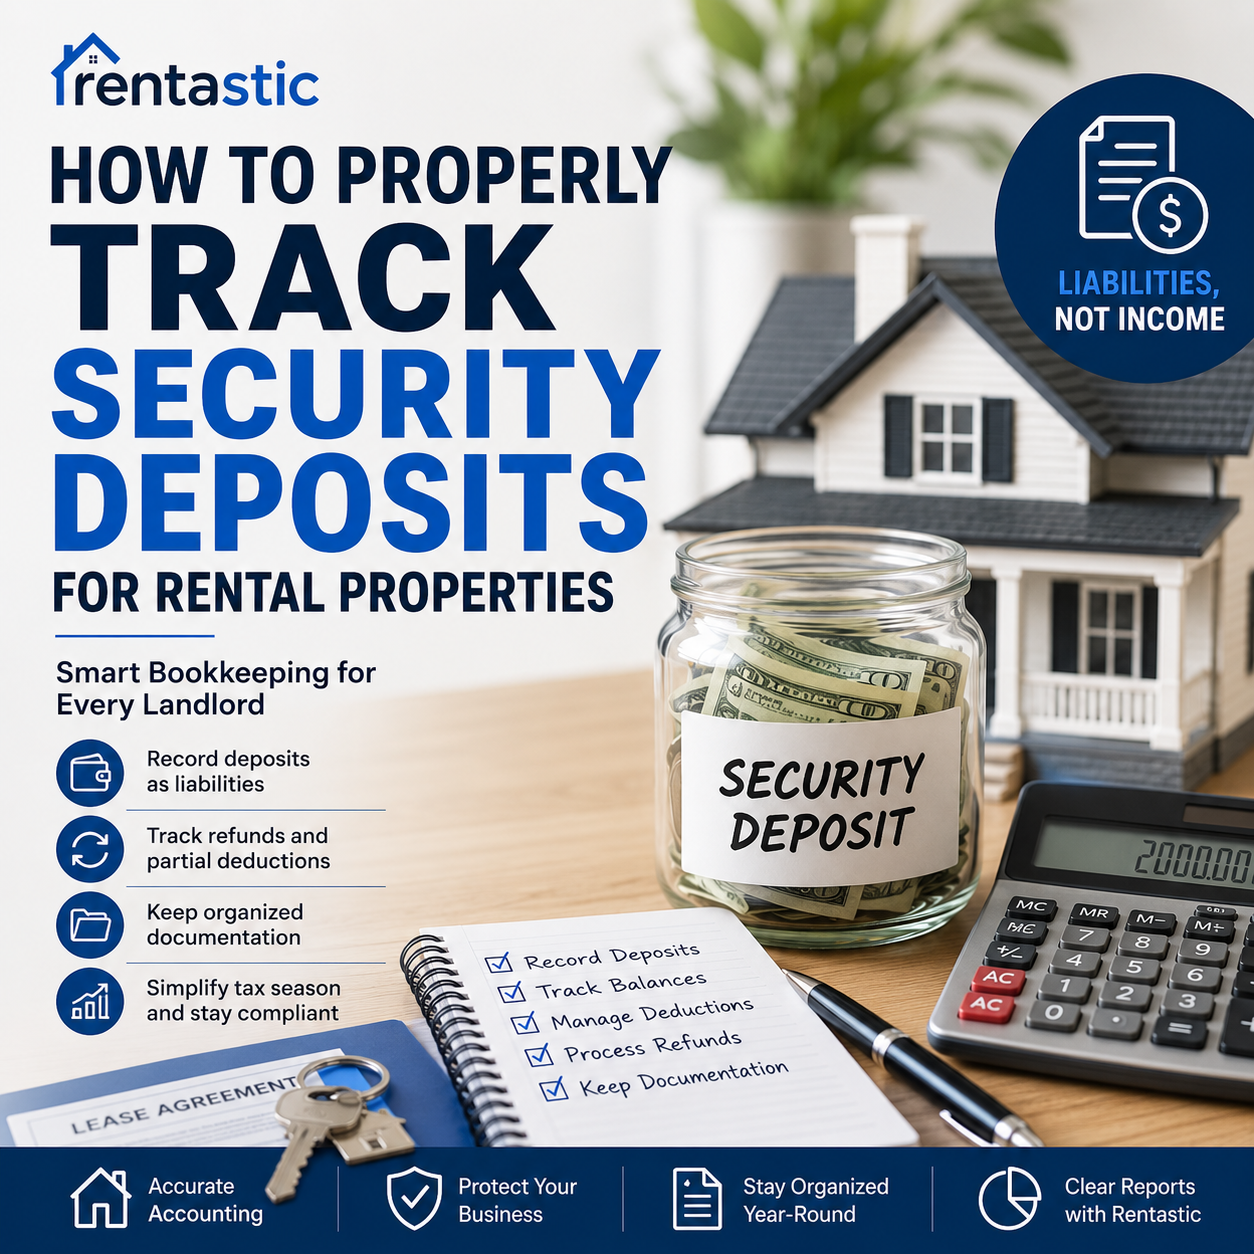
Make sure you capture “edge case” income too. Refundable security deposits usually are not income when received, but if you keep part of a deposit for damages, that portion counts as rental income in that year.
A clean income log saves you from hunting through bank statements at the end of tax season and helps you spot missing payments or errors from your manager.
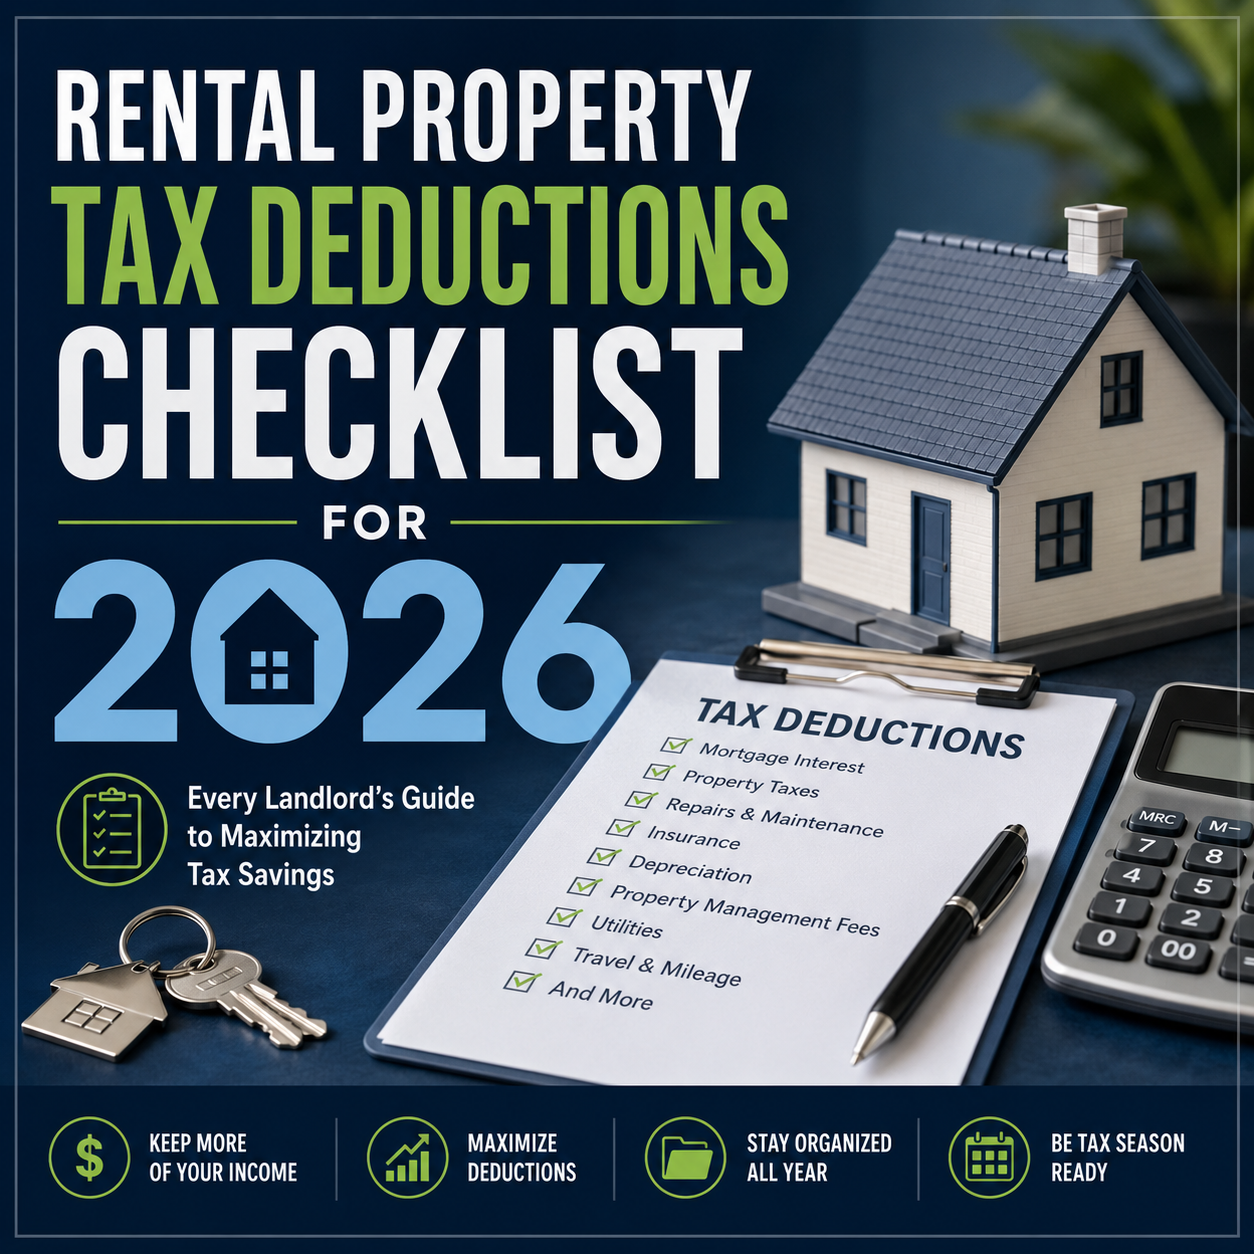
Next, turn to your deductions. Every legitimate expense you document now is taxable income you do not have to pay on later.
For each property, gather:
Mortgage interest is often one of your largest write offs. Interest on loans used to acquire or improve rental units is fully deductible when you report it on Schedule E, so you want every Form 1098 and year end amortization detail handy.
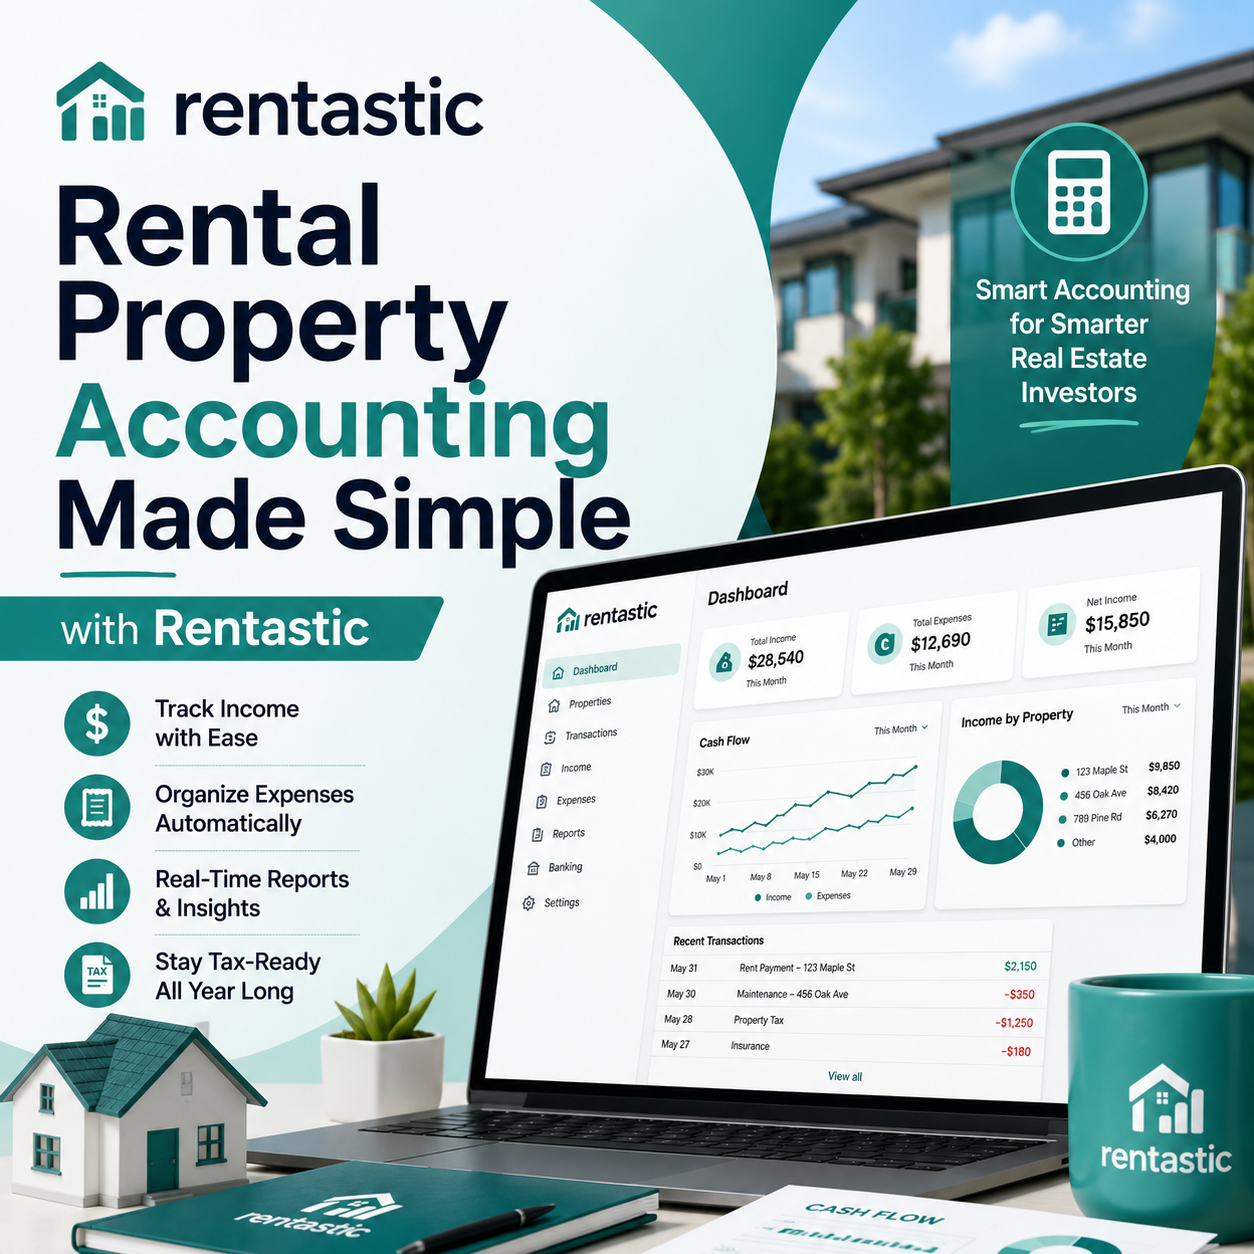
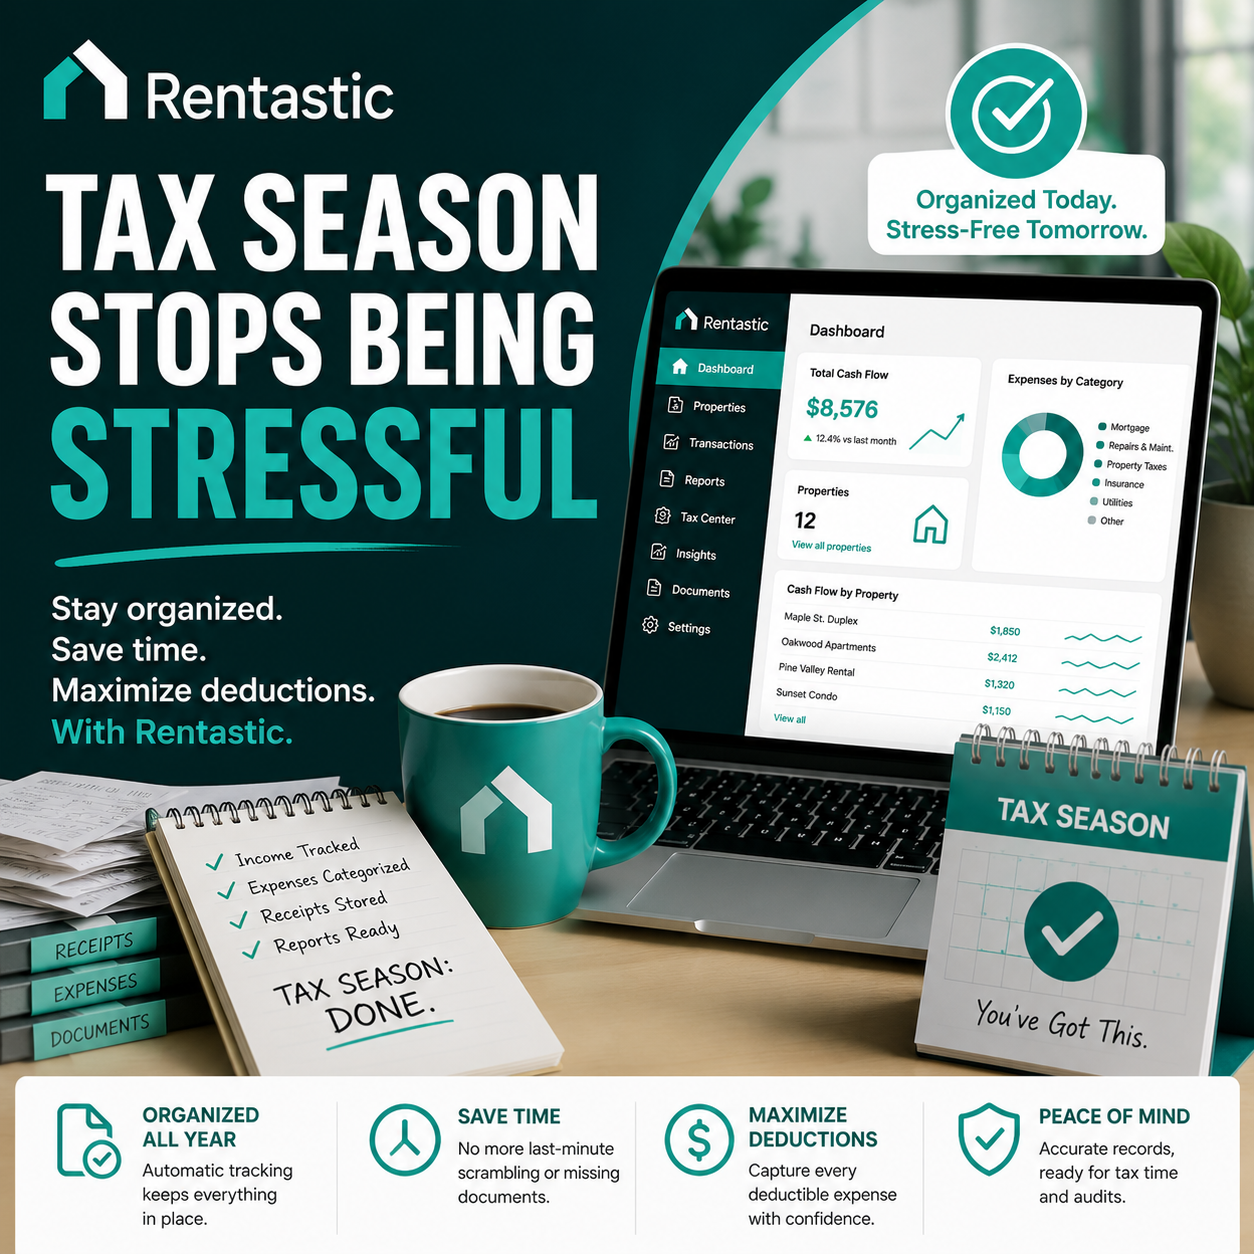
If you use a software tool that imports transactions from your bank and credit cards and then categorizes them, you will save hours here. Platforms like Rentastic can automatically pull expenses, tag them to properties, and generate profit and loss reports that map cleanly to Schedule E categories. That structure makes tax season much easier to handle.
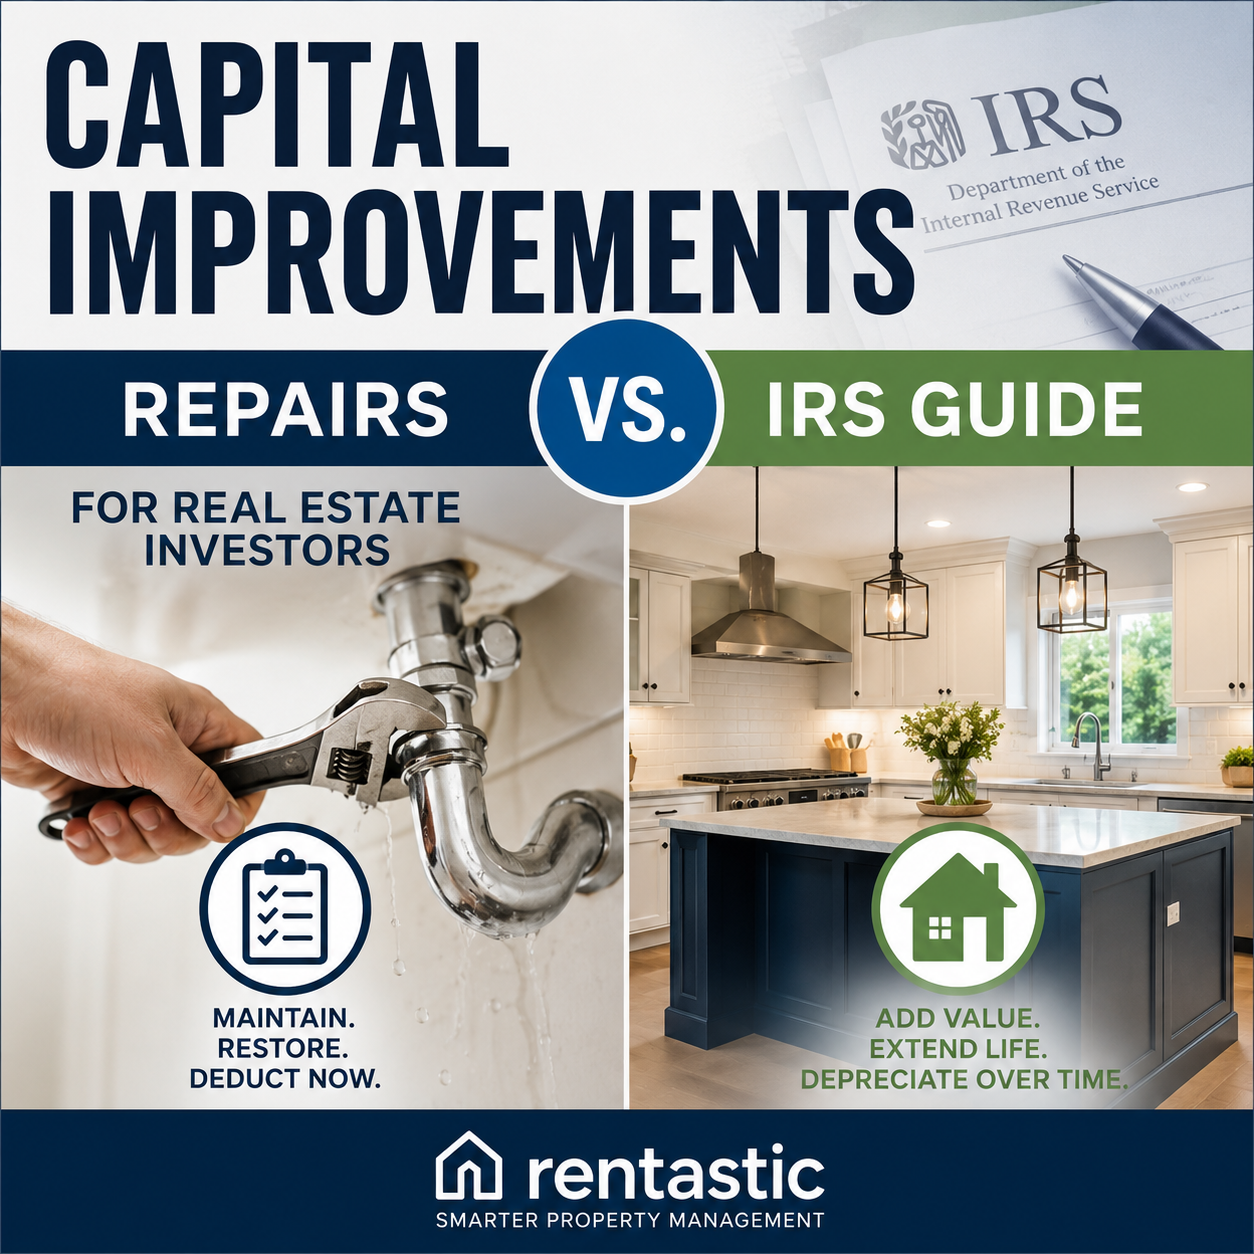
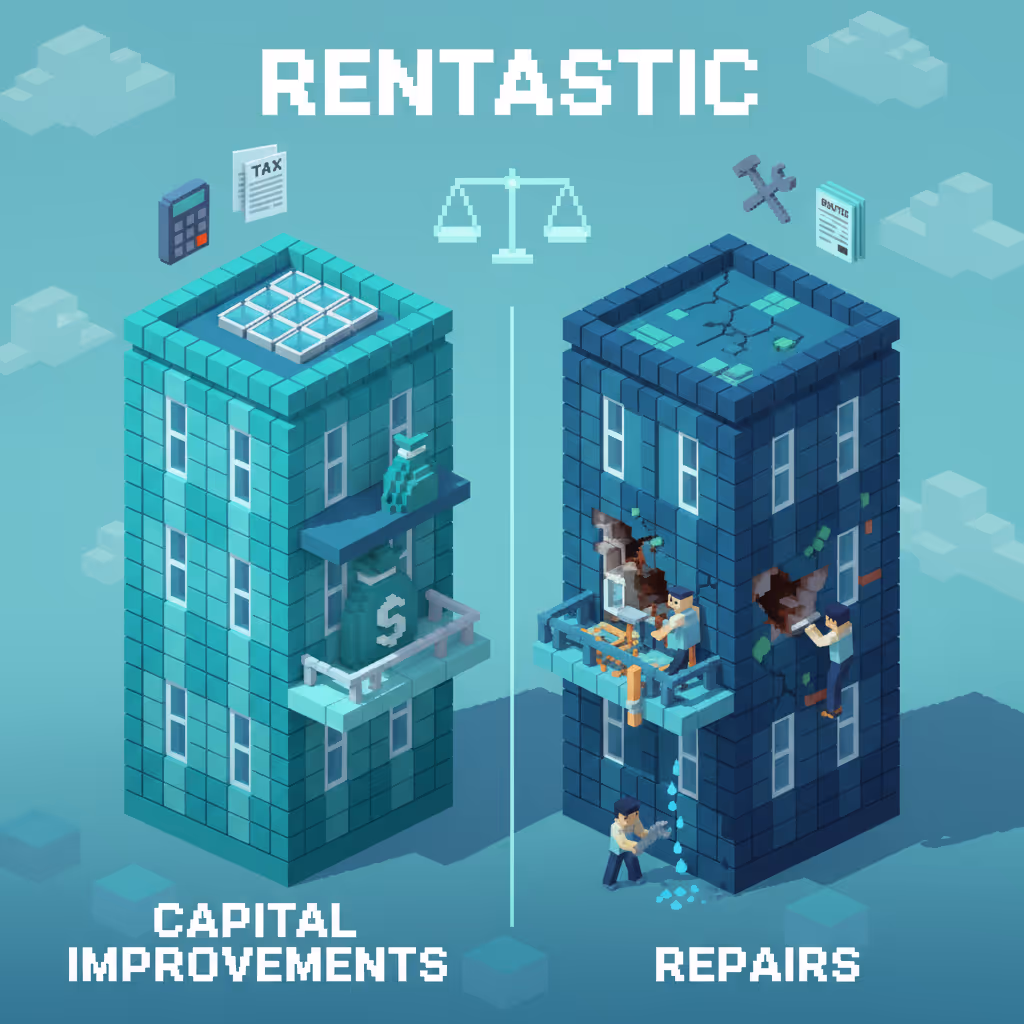
One of the most common landlord mistakes is mixing up repairs and improvements. The IRS treats them very differently, which affects when you get the tax benefit.
Repairs keep the property in its current condition. Improvements add value, extend the life of the property, or adapt it to a new use.
Examples of repairs you can usually deduct in full in the year you pay them include fixing leaks, patching drywall, repairing a broken furnace part, or replacing a cracked window. These are day to day fixes that keep the building in working order.
Improvements, such as a new roof, a full kitchen remodel, adding a bathroom, or replacing all the windows, typically must be capitalized and depreciated over time. You do not get the entire deduction in one year, you spread it over many years.
During tax season, that means you must:
The distinction can be subtle, so when in doubt, talk with a tax professional or reference IRS guidance. Correct classification not only keeps you compliant, it helps you maximize deductions at the right pace.
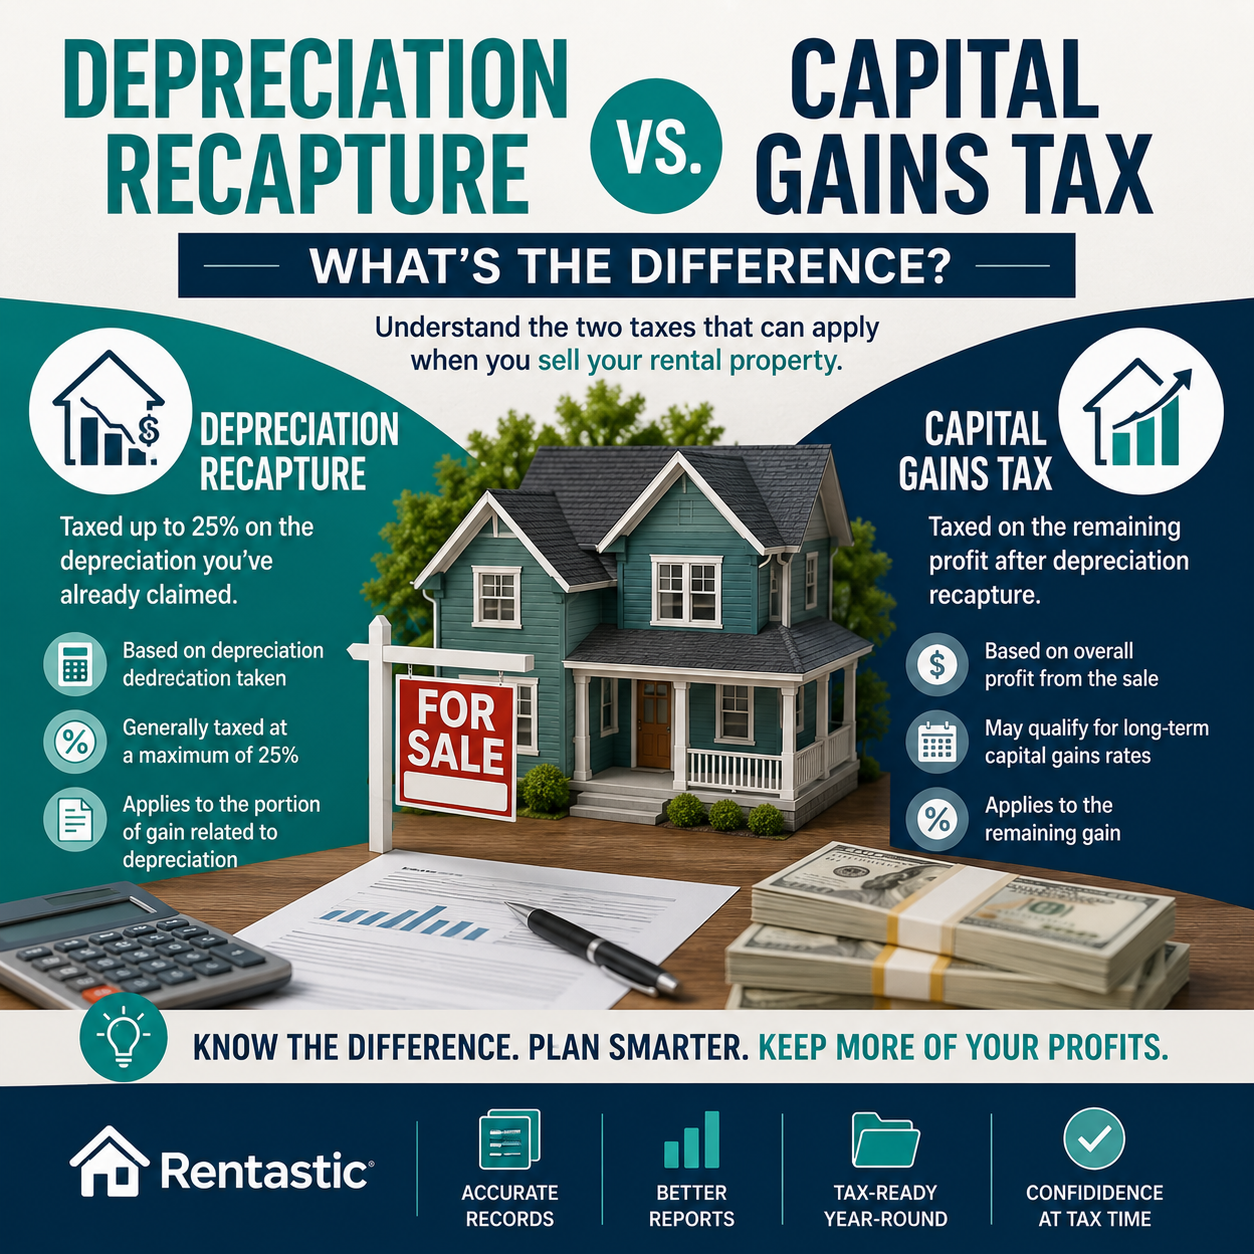
Depreciation is one of your most powerful tax tools. It lets you recover the cost of the building and certain improvements over time, even though you did not write a check for “depreciation” this year.
For tax season, you need:
Cost segregation studies can accelerate depreciation by identifying parts of your property that qualify for shorter recovery periods, such as certain electrical, flooring, or fixtures. By reclassifying those building components, you can increase first year deductions and improve cash flow.
Bonus depreciation, which lets you deduct a large portion of qualifying assets in the first year, has been phasing down. For 2025, bonus depreciation dropped to 40 %, down from 60 % in 2024. That lower rate means it is more important to plan which purchases you make in a given year and how you structure those acquisitions for the best tax benefit.
Have your depreciation schedules and any cost segregation reports ready before you meet with your tax preparer. That way, you can model different scenarios and make smart decisions, instead of rushing at the filing deadline.
If you manage your rentals from a dedicated space at home, you may qualify for a home office deduction. This is often overlooked, especially by small landlords who treat their rentals as a side project.
To claim it, you generally need a specific area that you use regularly and exclusively for rental business activities. That might be a small room where you handle leases, bookkeeping, and tenant communication.
You can use Form 8829 to calculate the home office deduction. You will need:
In addition to the home office, track other administrative costs that support your rentals, such as office supplies, printing, cloud storage, or accounting software. These are often small individually but add up over a full tax season.
Every trip you take for rental business may be a potential deduction. That includes driving to show a unit, meeting a contractor, attending local real estate meetings, or visiting the city office for permits.
For 2025, the IRS business mileage rate increased to $0.70 per mile, up from $0.67 in 2024. You can choose to deduct either:
Most landlords find the standard mileage rate simpler, but the key is detailed records. You will want a mileage log that notes the date, destination, purpose, and miles driven for each trip. Apps can automate this, or you can use a simple spreadsheet if you are consistent.
If you travel overnight to visit out of state properties or attend conferences specifically for managing your rentals, you may also deduct airfare, lodging, and a portion of meals. Keep every receipt and note the business purpose, so you have support if the IRS ever asks.
Some expenses around buying and financing properties do not show up clearly in your monthly statements, but they still matter at tax season.
You should gather and file:
Certain closing costs, such as points or loan origination fees paid on rental property mortgages, usually cannot be deducted in full in the year you pay them. Instead, they must be amortized over the life of the loan, which spreads a portion of the deduction into each year. Having the detailed loan terms and fee amounts available makes it easier to compute and track that amortization.
If you own property through partnerships or other entities, you will receive separate tax forms that flow into your personal return. Keep those with your other tax season paperwork so nothing is missed.
If your personal and rental expenses are mixed in the same accounts, tax prep becomes a guessing game. You waste time trying to remember if a Home Depot run was for your own bathroom or a tenant’s kitchen.
To clean this up before or during tax season:
Going forward, aim to review your rental financials monthly rather than once a year. Regular review helps you catch missing income, duplicate charges, or subscriptions you no longer need, and it spreads the tax prep work across the year instead of into one stressful weekend.
Good tax prep is not just about forms, it is also about strategy. Before December 31, you can still take actions that change your tax outcome. After that, your options shrink fast.
Useful year end review steps include:
Rental property owners are encouraged to complete key year end tax prep actions like maximizing deductions, reviewing performance, and updating records before December 31, 2025. That way, you are not only ready for filing 2025 taxes in early 2026, you also make data informed decisions about your portfolio.
If your net rental income is strong and you have cash available, strategic spending on clearly needed repairs or equipment before year end can reduce your taxable income. You want to pair that with a clear business case, not just spend to save tax.
Once you have a rough idea of your net rental income and other income for the year, think about your total tax bill. If you expect to owe more than $1,000 in tax when you file, the IRS expects quarterly estimated tax payments.
As a rental property owner, that usually means:
At the same time, keep an eye on passive activity loss rules. If your rentals show a loss, you may only be able to use that loss against other passive income, unless you fall under the active participation exception or qualify as a real estate professional.
Losses that you cannot use now are not gone. They carry forward, often for years, until you have enough passive income or dispose of the property and can finally unlock those deductions. Documenting these loss carryovers accurately each tax season is important for your long term tax picture.
The final piece of your rental property taxes checklist is a system that makes next year even easier. Organization is as valuable as any single deduction.
Aim to:
Consistent record keeping protects you if the IRS ever questions a deduction. More importantly, it gives you confidence that every legitimate dollar is captured.
Using a platform like Rentastic to import transactions automatically, categorize income and expenses, and generate reports that match Schedule E lines can turn a pile of receipts into clean numbers in minutes. That kind of system makes tax season a simple reporting task instead of a forensic investigation.
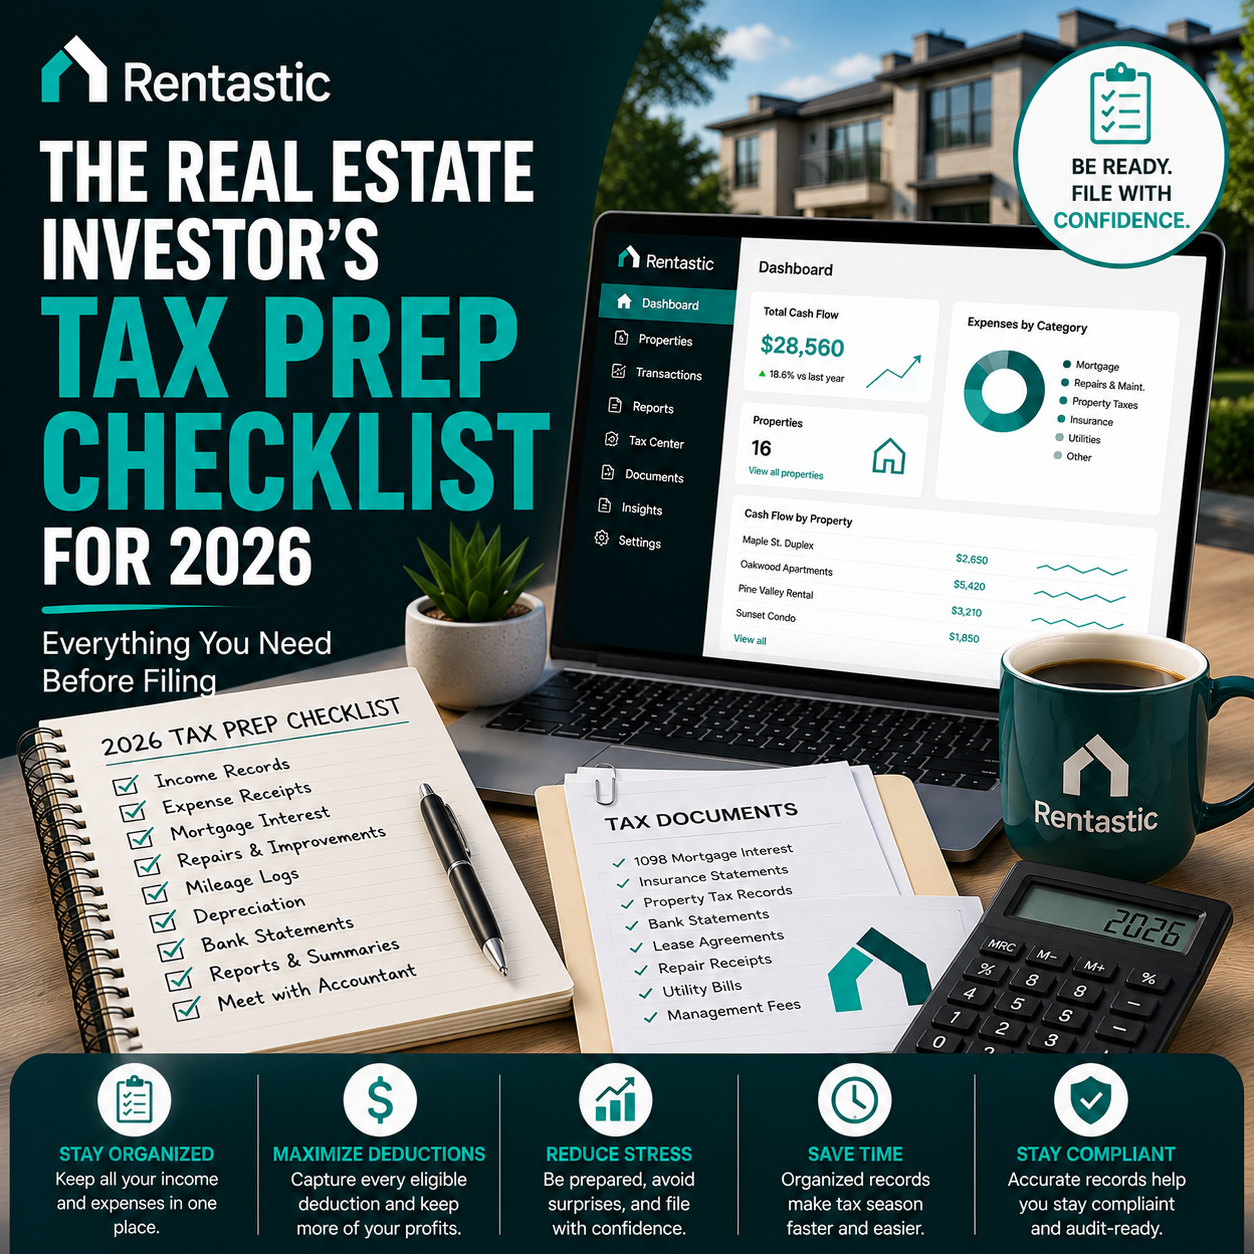
To wrap up, here is a concise version of your rental property taxes checklist that you can reference each year:
Pick one or two steps to tighten up this week. With a clear checklist and better systems, filing your rental property taxes becomes a manageable annual routine instead of a scramble, and you keep more of what your rentals earn.
RECENT POSTS


© 2025 Rentastic
Rentastic is registered as a trademark. Terms and conditions, features, support, pricing, and service options subject to change without notice.


.png)


Comments